Excel VBA Tutorial Chapter 1: How to record a macro
Goal of this chapter
By recording a simple macro in Excel we will go through the basics of Excel VBA. Here “recording” means that the actions you take in Excel are translated into written VBA code. Once it is transformed into code the recorded actions can be repeated as many times as you like by launching ("running") the recorded macro. We will review in this chapter:
- Steps to record a macro
- Use of a button to run a macro
- Visual Basic Editor window
- Modifying a recorded macro
Record a macro
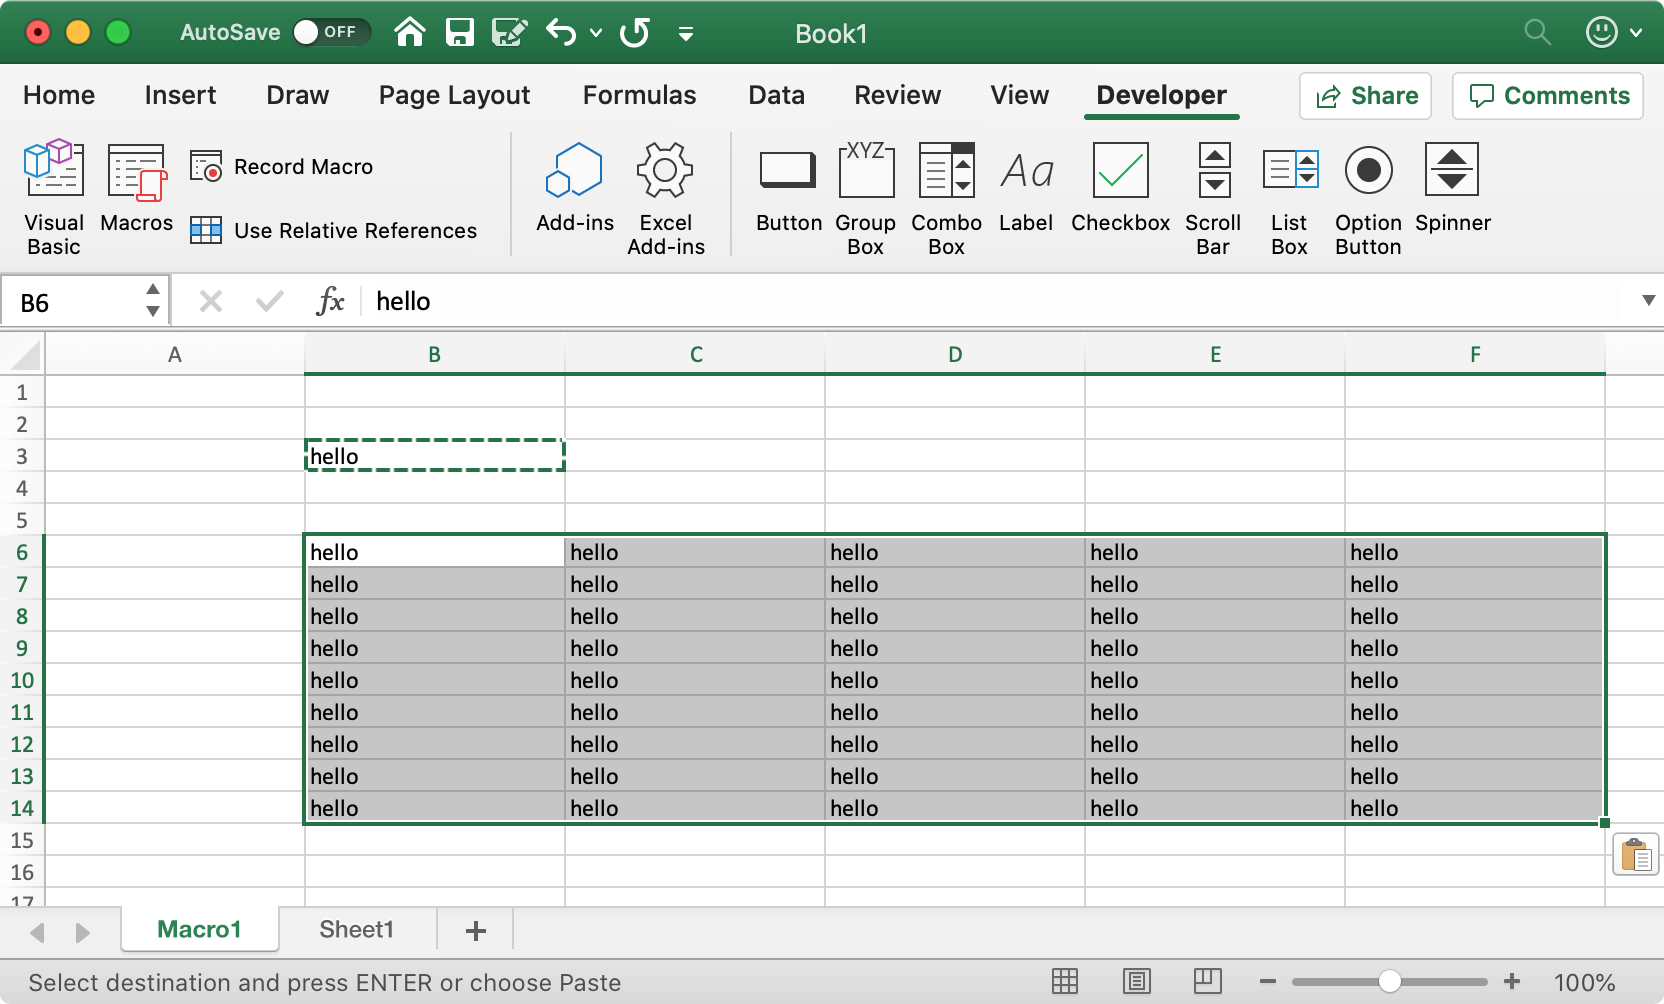
First we need to decide what we want to record. In our case let's assume we want to record how we copy & paste the value we enter in one cell to many other cells. Open a new Excel workbook and type “hello” (without quotes), in cell B3 and press “Enter”. B3 will be the cell we will copy & paste to other cells.
To start recording a macro you open the “Developer” ribbon in the top line above the worksheet and there select “Record Macro” ("Record" button on older Mac Office versions). As menitoned in the Introduction, we will state this type of series of commands as “Developer -> Record Macro”. If you cannot see the “Developer” ribbon then please review the tutorial Introduction to set it up.
The following dialog box pops up where you can enter the data for saving the macro you are about to record.
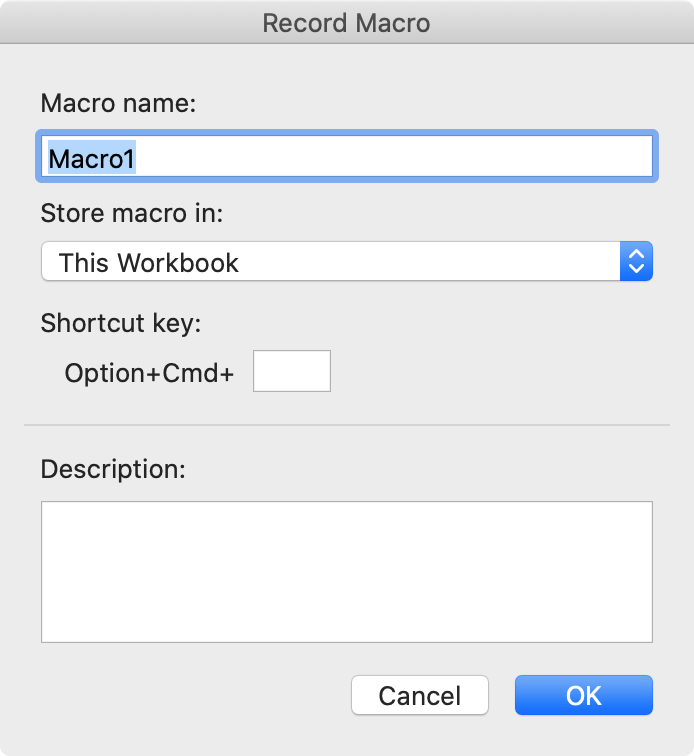
“Macro name” is the name we give to the recorded macro by which we will later be able to retrieve the macro. Let's call it “RecordedMacro” (without the quotes) and click “OK” to continue.
From now on everything you do in the Excel worksheet will be recorded in a macro. For our example execute the following steps:
- Select cell B3 and copy the contents, either by pressing CTRL+C (Command+C on Mac) or click the right button on your mouse and choose “Copy”.
- Select range B6 to F14 (further ranges will be indicated as B6:F14) and paste, either by pressing CTRL+V or click the right button of your mouse and choose “Paste”.
Now we can stop recording. We go to “Developer -> Stop Recording” (same place as “Record Macro” was) and, congratulations!, you have finished your first recorded macro. The result should look like this:
Now what can we do with this? Each time the macro runs it will copy the contents of cell B3 to cells B6:F14. To check that the macro works, change the contents in cell B3, for example to “goodbye” (again without quotes). Next, to run “RecordedMacro” press ALT+F8 (Option+F8 on Mac) so the “Macros” dialog box shows (this window is also accessible in the “Developer” ribbon, called “Macros”). Select “RecordedMacro” if not already selected and click “Run”. The contents of range B6:F14 should now have changed to “goodbye”.
As the above described method is not the most user-friendly way to launch a macro we could add a button to the worksheet that will run “RecordedMacro”. The button is one of many controls at your disposition in Excel to control the macros you have made. On a Mac, there is simply one option “Button” that you can click in the “Developer” ribbon. On a Windows Excel, to add a button to the worksheet you go to the “Controls” section of the “Developer” ribbon (in Excel versions prior to 2007 you can find the controls in the “Controls” toolbar).
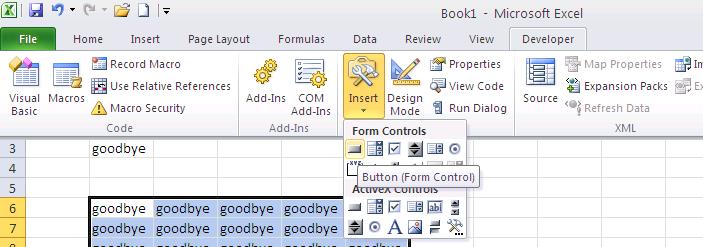
Choose “Insert” and then click the “Button” in Form Controls, the first option in the list. The names of the controls should show when you hover over them with the mouse. Make sure you use the “Button” and not the “Command Button” as they work differently though their icon looks the same. The “Command Button” is an ActiveX control which is not supported on Mac.
After clicking the “Button” icon, click in the worksheet, for example on cell D2. The “Assign Macro” dialog box pops up, where you can indicate which macro should be run by clicking the button. Select our “RecordedMacro” in the list and click “OK”. The button now appears on the worksheet, with its upper left corner in cell D2. The caption on the button now is “Button 1”. Click the button and change the caption to “Run” (without quotes) and click somewhere else on the sheet to finish renaming.
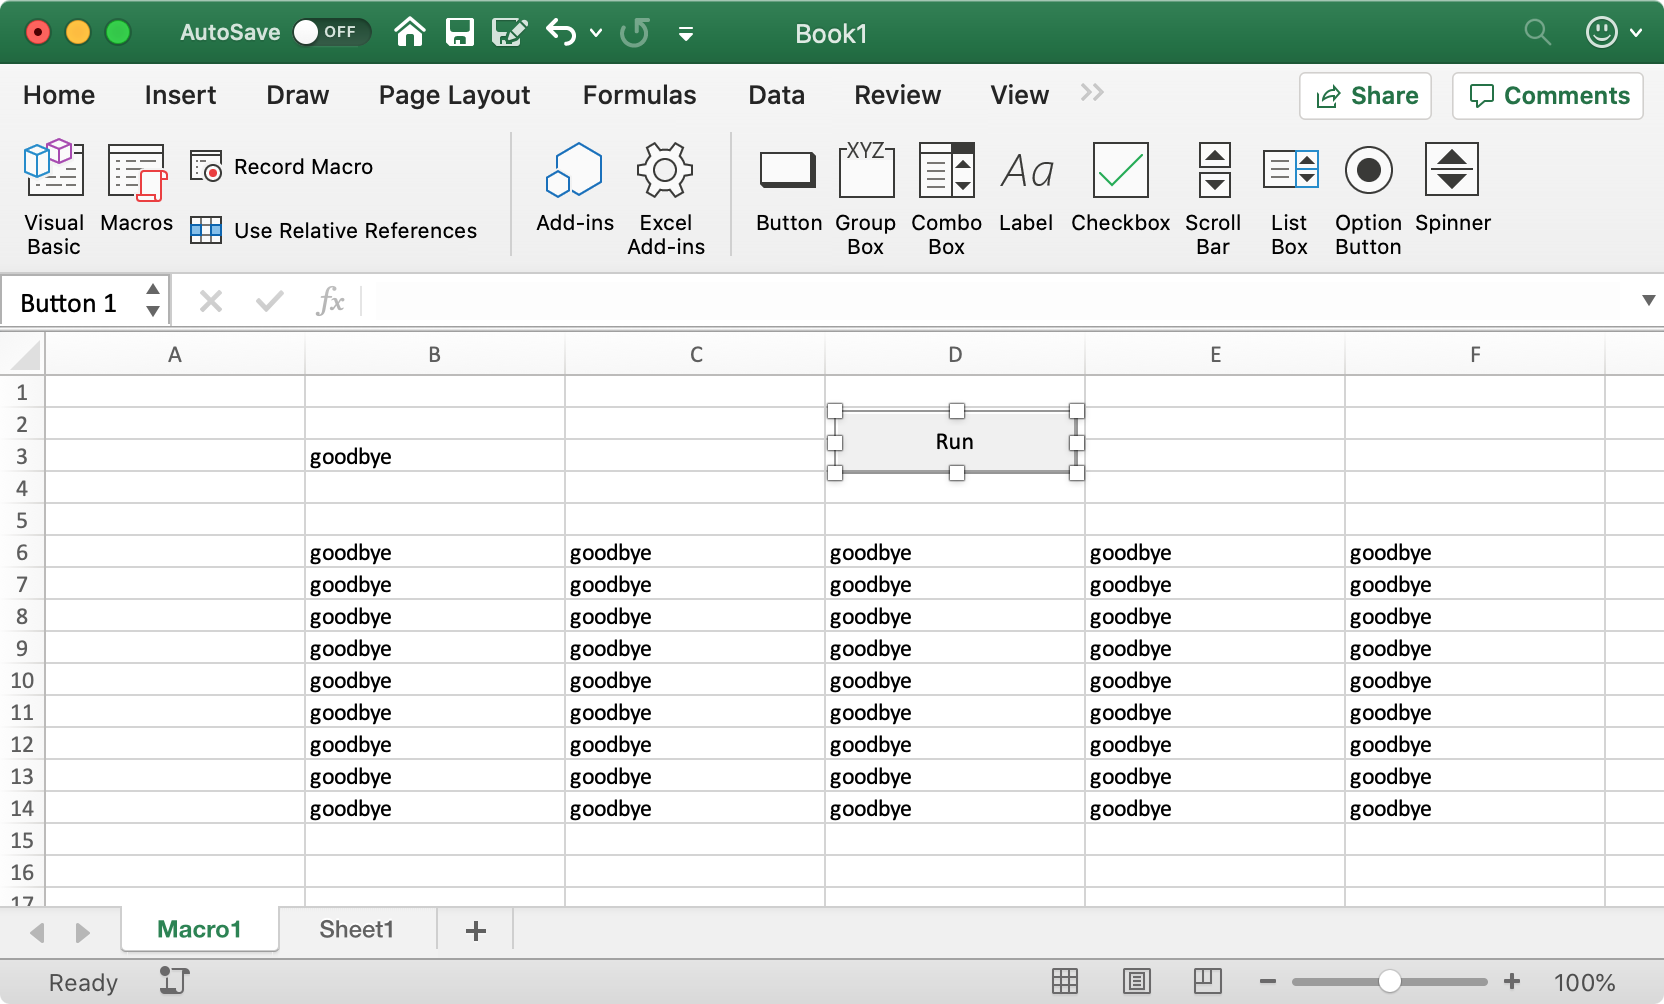
To see if the button works correctly we first need to change again the value in cell B3. For example, type “good morning” (without quotes). Press the freshly created “Run” button and it should copy “good morning” to the whole B6:F14 range.
We could leave it there and start to use our button without ever looking at the code it produced. Recording macros is very useful for this type of procedures of copying & pasting, ordering or formatting data, and it is possible to record much longer sequences. Manual operations of this type that you might now repeat regularly, you probably could automate them by using the steps described above. The next paragraphs take us a step further, where we will look at the code created by the recorder and will make small modifications.
VBA editing window
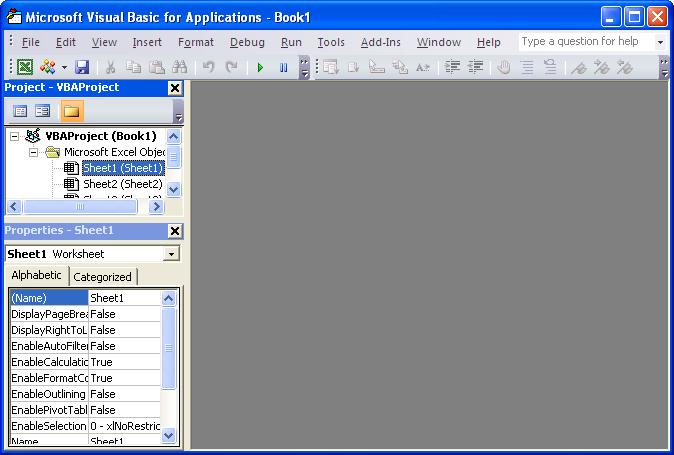
To see the programming code generated by the recorder we have to go to the VBA editing window. It can be accessed either by pressing Alt+F11 on Windows Excel (Option+F11 on Mac Office 365) or going to the “Developer” ribbon and choose “Visual Basic”. The following screen shows:
To find our “RecordedMacro”, double click on the “Modules” folder in the “Project” window. Then double click “Module1” and the programming code of “RecordedMacro” shows. The recorded code should be:
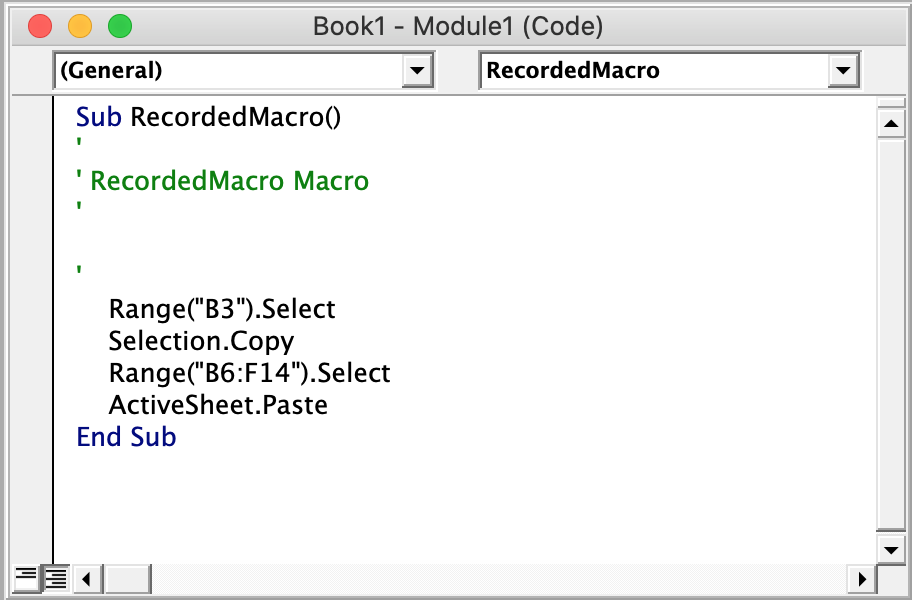
When we recorded the macro, Excel created a subprocedure (Sub) called “RecordedMacro”. A subprocedure is a group of code that performs a certain action. In our workbook the group of code between the Sub and End Sub lines is executed when we press the “Run” button referring to “RecordedMacro”.
The green text marked starting with a ' sign is added as commentary and not as programming code (the computer skips it when executing the code). The recorded code is actually quite readable. As we would expect it copies the contents of cell “B3” to “B6:F14” and additionally shows the cells we selected while doing this. What you can see also is that in each command it first puts an object (e.g. Range(“…”), Selection or Activesheet) and then a dot and what we do with the object (e.g. Select, Copy, Paste). Another obvious but essential observation is that code execution goes top-down, line by line.
Now, depending on the key strokes or mouse actions you made while recording the macro, what you recorded may look different. That doesn't matter here, as long as you can recognize the same actions within your recorded lines of code. Alternatively, you could write the code I recorded into your “RecordedMacro” subprocedure before modifying the code.
Modifying a recorded macro
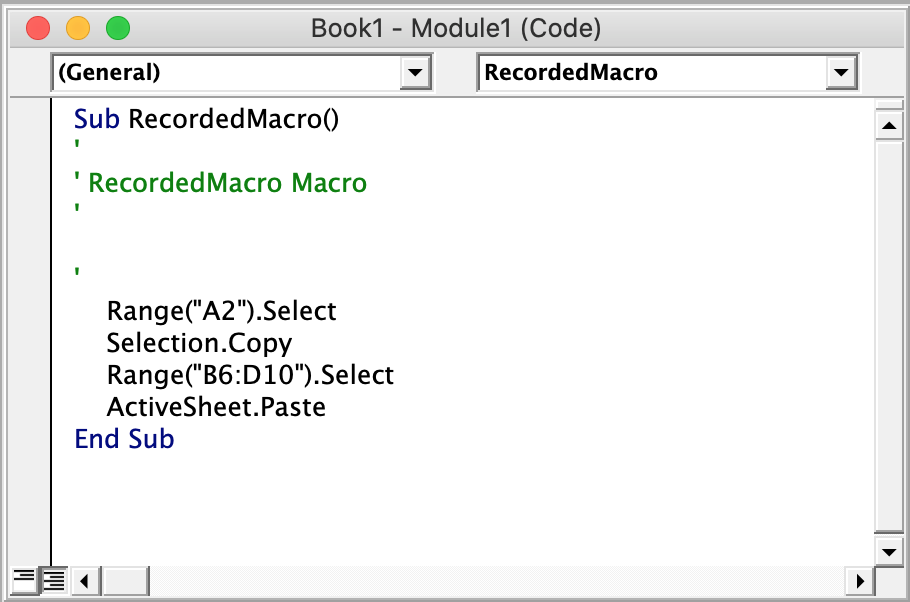
The recorded macro can now be changed in any way we like, independent of its original recording contents. For example, we could change the cell to copy from B3 to A2 and the destination cells from B6:F14 to B6:D10.
To test if it works, type something into cell A2, for example “good evening”. Press the Run button and the result should be:

Concluding this chapter
The more you know about programming regular (non-recorded) macros, the easier it will be to adjust a recorded macro. In the next chapter we will start to see how we can make a macro starting from scratch. Recording macros will remain valuable even after learning how to write the whole macro. For example the recording might show you code you didn't know how to write yet and also recording macros can in certain cases still be the quickest and easiest solution to automate operations in Excel.
Next: Chapter 2: How to write a macro